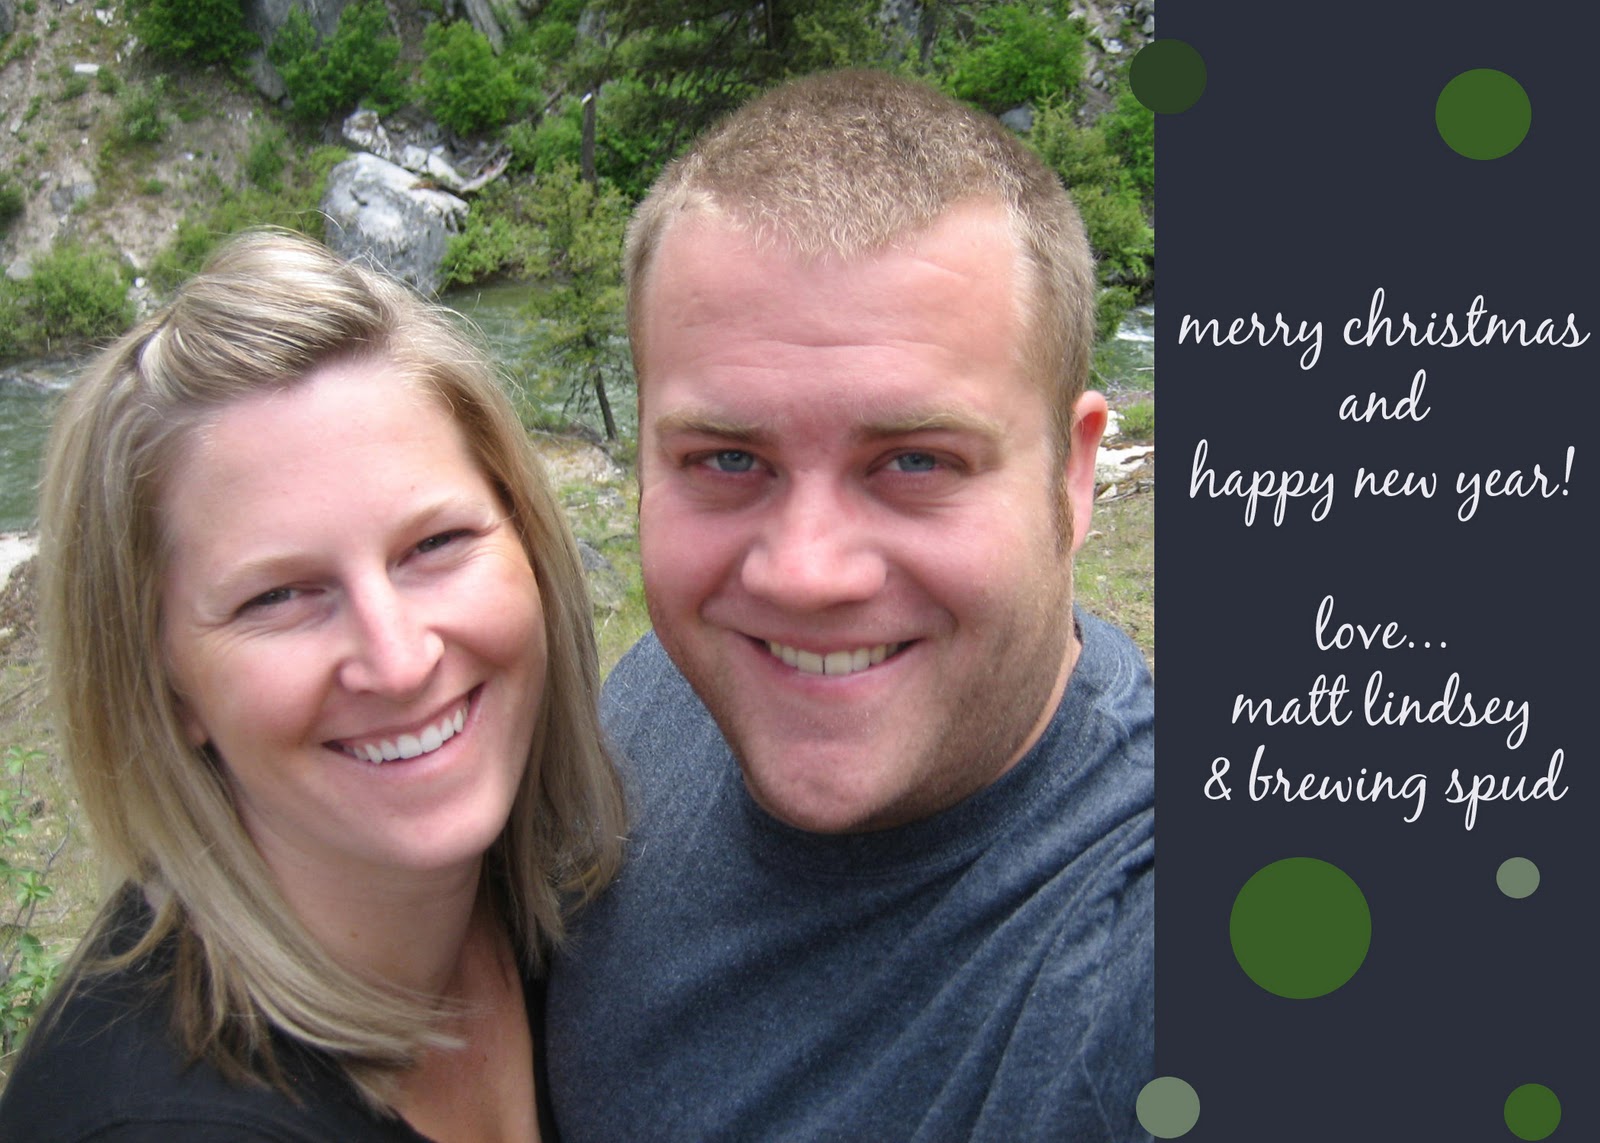
Our little spud is a
GIRL!
I knew we wanted to surprise our families with the big news of spud being a boy or girl. They all live in different states, so unfortunately we couldn't tell them in person. We already announced our pregnancy to them over the phone, but we wanted this to be fun and special. So this is our version of a "gender reveal party." I got the idea from
here on pinterest on how to do the DIY scratch off card just like a lottery ticket. After reading the comments it sounded like it was a big fail. So with research I found
this technique. And it worked beautifully! We thought this would be perfect. Our moms would probably be the first to open the mail, but we didn't want them to read it without our dads there. So the scratch-part made them wait to be there all together for the fun news.
Oh and before hand we knew we couldn't tell them all when the date of the 20 week ultrasound appointment was, otherwise we'd get bombarded with phone calls and rightly so! So we told them the appointment was a week later than it was scheduled to give us time to have the cards mailed to them. (Sorry you guys!) It was torture finding out and not calling them, let me tell you.
Matt and I also crafted these cards ahead of time over thanksgiving, planned it all out, pre-addressed the envelopes, made the card layout on our computer, bought the supplies, and did a little craft-dry-run for fun. We left the boy/girl portion blank until we knew, then we hit print as soon as we found out! We stuck on the contact paper scratchy and sent it off in the mail that day. Also, for fun we attached an idaho quarter to the cards, as their "lucky coin." It was soo exciting, but a touch anti-climatic at the same time.
But yes, the excited phone calls we got this past weekend were fantastic. It was completely worth the wait. Our loved ones agreed too. No tone of resentment at all. They thought it was totally our style and had no idea it was coming. Super fun. Yay Girl Spud!
Supplies to make a DIY scratch-off card:
- metallic acrylic paint (we chose silver)
- dish soap
- clear contact paper
- paint brush
- cardstock
- paper punch
Mix one part dishsoap, two parts metallic paint. Apply one coat of paint/soap to contact paper let it dry and apply another coat. Let dry. Punch out contact paper the size of your scratch area with a scallop paper punch. Apply contact paper scallop over to-be-hidden words. Ta-dah! Scratch-off cards!
[paint I chose to use that I found at michaels]
[I found that I had to tape down the contact paper sheets so that they wouldn't roll up as I painted. So I just taped them to a thick chipboard, it worked really well]
[first coat of paint]
[I used a scrap of contact paper to seal off my soap/paint while I waited in between the two coats...I think I will use this trick in the future to keep paint from drying out]
[I was worried that the metal punch would scrape off the silver paint...but it didn't surprisingly. They were just cute little scalloped circle stickers ready to use]
[all of the cards cut up, ready to be sewn, kraft paper obviously]
[I sewed the pieces of card stock together... because that's just what I do... wedding invites, thank you cards... anything really I can fit under the sewing foot]
[I had a few paper-source calendar months in the perfect turquoise, so I used that as our background for the cards, some nice up-cycling going on here]
[finished card with spud U/S picture and our lucky Idaho quarter attached... and tah-dah gender reveal cards done!]